
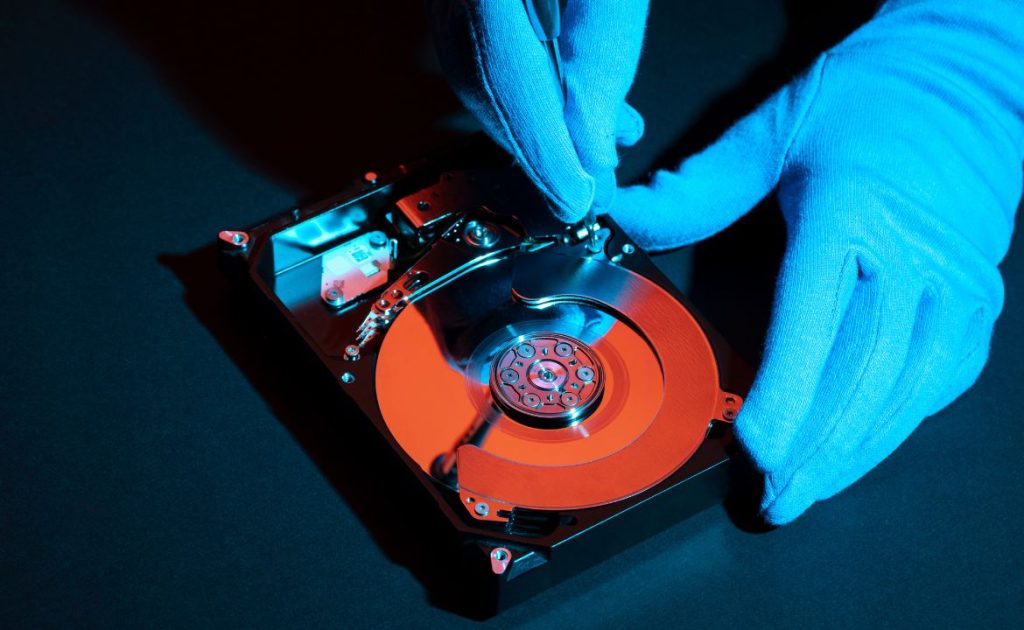
If your Mac feels sluggish when opening apps, copying files, or booting up, the storage drive is often the culprit. Running a hard drive speed test Mac users can rely on is the fastest way to find out whether your drive is performing as it should. This guide explains why speed testing matters, which tools to use, how to read the results, and what to do if the numbers disappoint.
Why You Should Test Your Mac’s Drive Speed
Storage speed affects almost everything you do on a computer. Launching software, loading large video files, exporting photos, and even switching between apps all depend on how quickly data moves between your drive and your processor.
Testing your drive helps you:
- Diagnose slowdowns and separate storage problems from RAM or CPU issues
- Verify performance on a new Mac or a newly purchased external drive
- Spot early failure signs before data loss occurs
- Compare drives when deciding which external SSD or HDD to buy
- Confirm connection quality, such as whether a USB-C cable is limiting speed
Understanding the Key Metrics
Before running any test, it helps to know what the numbers mean.
Sequential read and write speed measures how fast large, continuous files transfer, measured in megabytes per second (MB/s). This matters for video editing, backups, and copying big folders.
Random read and write speed measures how quickly the drive handles many small files scattered across the disk. This affects general system responsiveness, app launches, and booting.
IOPS (Input/Output Operations Per Second) shows how many read or write operations the drive completes each second. Higher is better, especially for databases and heavy multitasking.
Latency is the delay before a data transfer begins. Lower latency means a snappier system.
Typical Speeds to Expect
Speeds vary widely by drive type:
| Drive Type | Typical Sequential Speed |
|---|---|
| Traditional HDD (5400 RPM) | 80 to 120 MB/s |
| Traditional HDD (7200 RPM) | 100 to 160 MB/s |
| SATA SSD | 450 to 550 MB/s |
| External USB 3.2 SSD | 500 to 1,050 MB/s |
| Thunderbolt external SSD | 1,500 to 3,000 MB/s |
| Internal Apple Silicon SSD | 2,000 to 7,000 MB/s |
Modern Macs use fast internal SSDs, but many people still use external hard drives for backups and archives, which is where testing becomes especially useful.
Best Tools for a Hard Drive Speed Test Mac Users Can Trust
1. Blackmagic Disk Speed Test
This is the most popular free option. Available in the Mac App Store, it is simple and reliable.
- Download and open the app.
- Click the settings icon and choose the drive you want to test.
- Click Start and watch the live read and write results.
The app also tells you whether the speeds are suitable for various video formats, which is handy for creators.
2. AmorphousDiskMark
This free tool mimics the well-known CrystalDiskMark on Windows. It reports sequential and random speeds, queue depths, and IOPS, giving you a more detailed picture than simpler tools.
3. Terminal and the dd Command
If you prefer not to install anything, macOS includes command-line utilities. A basic write test can be done with the dd command, which writes a temporary file of a set size and reports the transfer rate. This method is quick but less precise, and it requires care. Typing the wrong command can overwrite data, so use it only if you are comfortable with Terminal.
4. Disk Utility for Health Checks
Disk Utility does not measure speed, but its First Aid feature checks your drive for errors. Running it alongside a speed test gives you both performance and health information.
5. Activity Monitor
Open Activity Monitor and click the Disk tab to watch real-time read and write activity. This shows how your drive behaves during everyday tasks rather than in a synthetic benchmark.
How to Run an Accurate Test
Getting reliable results requires a bit of preparation:
- Close other apps. Background processes can distort results.
- Plug directly into the Mac. Avoid hubs and cheap adapters, which can bottleneck speed.
- Use a quality cable. A USB 2.0 cable on a USB 3 drive will cap speeds dramatically.
- Test more than once. Run at least three tests and average the results.
- Leave some free space. A nearly full drive performs worse, particularly SSDs.
- Let the drive cool. Sustained testing can cause thermal throttling, so allow rest time between runs.
Interpreting Your Results
Once you have your numbers, compare them with the manufacturer’s advertised speeds. Real-world results are usually 10 to 30 percent lower than the marketing figures, which is normal. If your results are far below that, something is wrong.
A drive that performs well on reads but poorly on writes may be nearly full or aging. Wildly inconsistent results between runs can point to a failing drive, a loose connection, or overheating. If you notice this alongside clicking sounds or freezing, back up your data immediately.
Common Reasons for Slow Drive Speeds
Wrong port or cable. Plugging a fast SSD into a slower port is the most common mistake. Check that the port and cable both support the speed your drive is capable of.
Nearly full storage. Macs need free space for swap files and caching. Aim to keep at least 10 to 15 percent of your drive free.
Fragmentation on HDDs. Traditional spinning drives slow down over time as files scatter. While macOS handles this automatically for most cases, very old drives may still suffer.
Incorrect file system. Drives formatted as NTFS can only be read on a Mac, not written to, and exFAT can be slower than APFS. For Mac-only use, APFS or Mac OS Extended is best.
Aging hardware. All drives wear out eventually. SSDs have limited write cycles, and HDDs have moving parts that degrade.
Background tasks. Spotlight indexing, Time Machine backups, and cloud syncing can temporarily hog disk resources.
How to Improve Slow Performance
If your results are disappointing, try these fixes:
- Free up space by deleting unused files and clearing caches
- Reformat an external drive to APFS if it is used only with Macs
- Replace worn or low-quality cables
- Update macOS, since updates often include storage optimizations
- Reset the SMC or NVRAM on older Intel Macs if you suspect system-level issues
- Upgrade an old HDD to an SSD for a dramatic improvement
- Move heavy workloads to a fast external Thunderbolt SSD
How Often Should You Test?
You do not need to benchmark constantly. Run a test when you buy a new drive, when you notice slowdowns, or every few months if you rely on the drive for important work. Regular checks create a baseline, so you can spot performance drops early.
Final Thoughts
Knowing how to perform a hard drive speed test Mac owners can trust puts you in control of your machine’s performance. Free tools like Blackmagic Disk Speed Test and AmorphousDiskMark make the process quick, while built-in utilities such as Disk Utility and Activity Monitor add valuable context. By understanding the metrics, preparing your test properly, and knowing how to interpret results, you can identify problems early, choose better storage, and keep your Mac running smoothly.
Whether you are troubleshooting a slow system, verifying a new purchase, or simply curious, a regular hard drive speed test Mac routine is a small habit that pays off in reliability and speed. Start with a quick benchmark today, and you may be surprised by what your drive reveals.
READ ALSO: https://eliteguestpostsagency.com